All you need to know about surface measurements in tooling
David studied his bachelor’s degree at the Polytechnic University of Catalonia (UPC), where he started to work as a Research Assistant in the Department of Physics. Once he finished his master’s degree at the University of Barcelona (UB) he entered into the world of optical metrology joining Sensofar. As a Sales Specialist, he communicates Sensofar’s knowledge about optical metrology and trains our customers on how to extract the full potential of our systems. If you need him, he’ll probably be in our demo room measuring samples or performing live demonstrations.
Webinar: Surface measurements in tooling
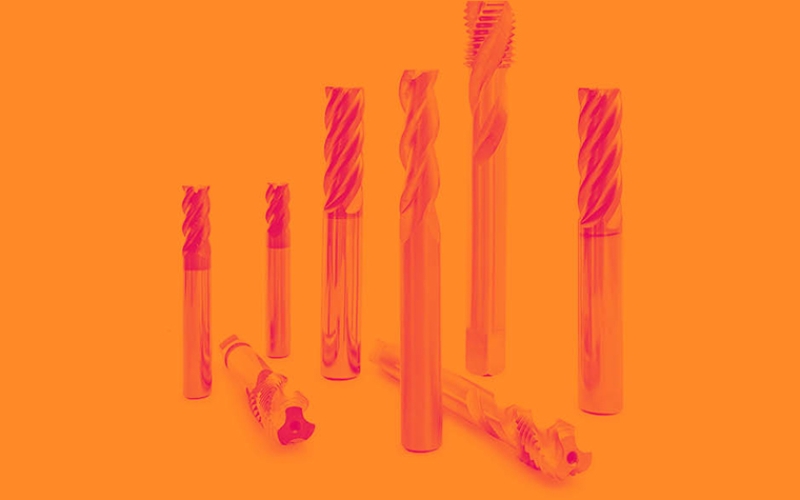
The designing and manufacturing of tools directly affect the production quality of the end-user industry and metrology requirements in the tooling market are more challenging every day.
The need to measure tool wear, thinner tools and smaller cutting edge radii are more common .
Our unique solution, the S neox Five Axis confocal optical profilometer, allows us to measure samples of diameters up to 200μm and cutting edge of 150nm radius.
Our experts will share all their experiences gained from the multiple surface measurements they have taken on several tooling samples.
Are you ready to learn more?
KEY TOPICS
Tips for the measurement of samples with similar shape (drills, screws, cutting tools…)
How to measure and how to analyze? (features like, roughness, wear, shape, CAD
comparison…)
General advice with real examples to find the best solutions for your day-to-day in the field of
tooling surface measurement


