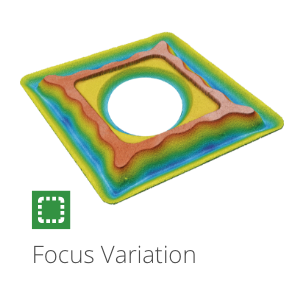
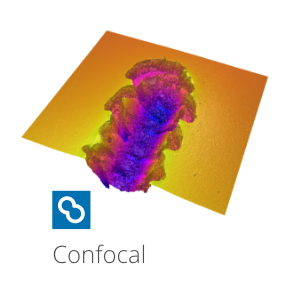
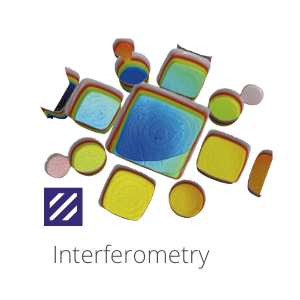
Surface texture measurement can be performed using two main approaches: contact methods, which involve physical stylus-based instruments, and non-contact techniques, which use advanced 3D optical technologies such as Interferometry, Confocal, or Focus Variation.
CONTACT PROFILERS
Traditional methods
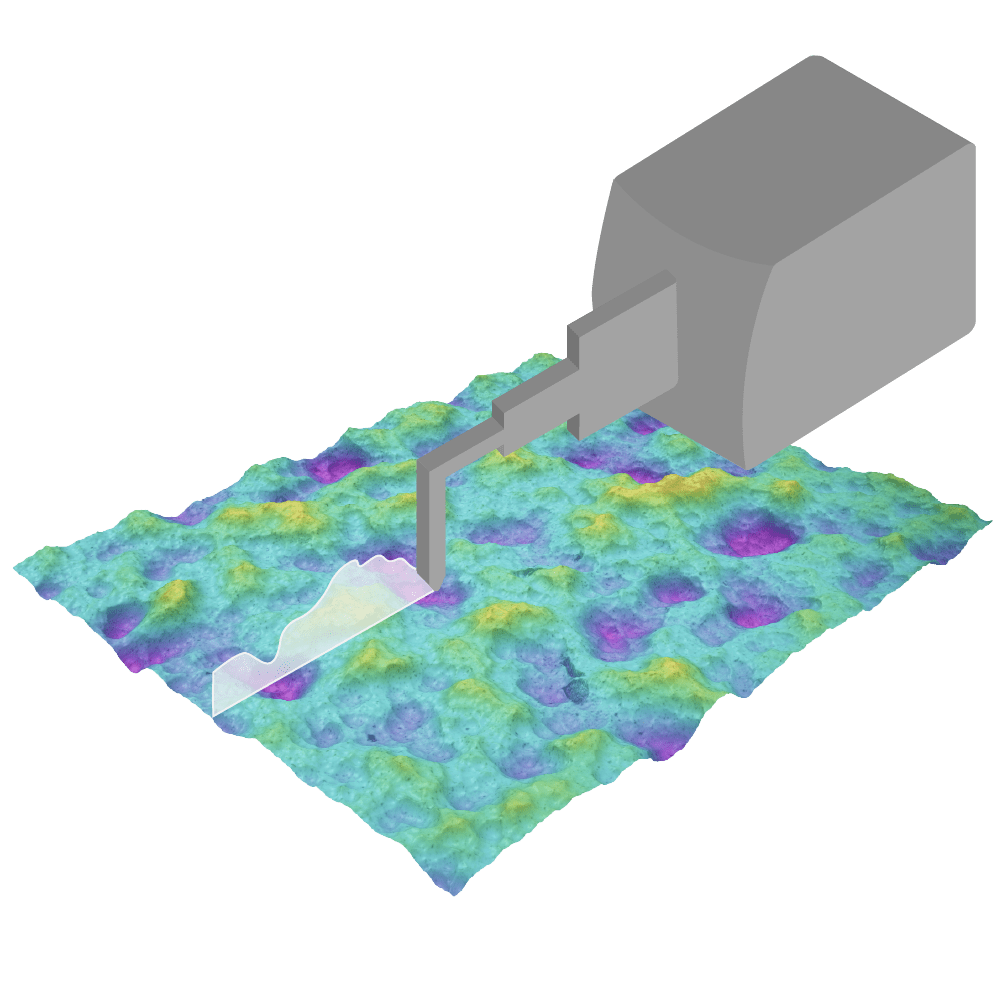
Contact profilers, such as stylus profilers, have been the industry standard for decades. However, they have several drawbacks, including sample damage, tip wear, and measurement variations due to directional and position dependency.
Contact profilers, such as stylus profilers, have been the industry standard for decades. However, they have several drawbacks, including sample damage, tip wear, and measurement variations due to directional and position dependency.
3D NON-CONTACT PROFILOMETERS
The rise of non-contact profilometers
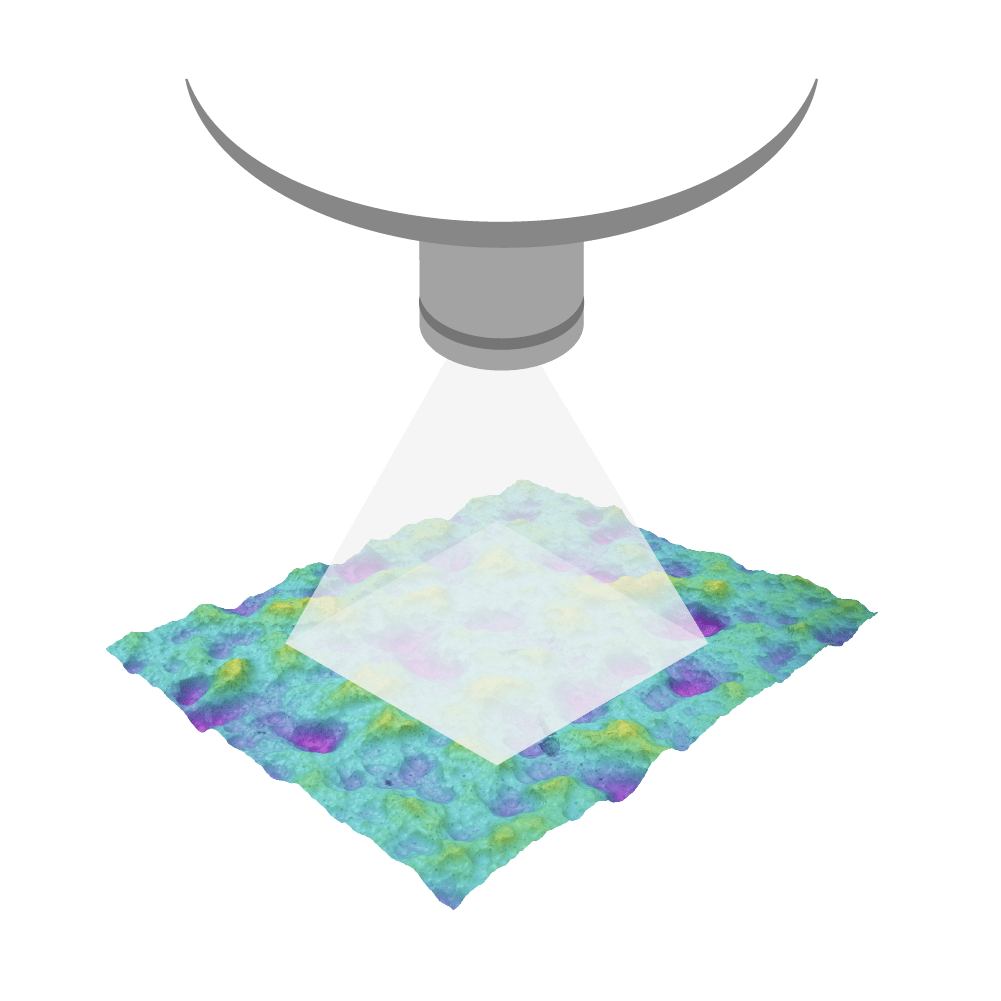
Modern optical profilometers are increasingly replacing contact profilers as they eliminate many drawbacks inherent in contact methods. These advanced systems provide superior resolution, faster measurements, lower variance, and seamless automation, making them a more efficient solution for surface texture measurement in both research and industry. Additionally, international standards like ISO 21920 and ISO 25178 recognize non-contact techniques as essential for reliable profile and areal surface texture analysis.
Modern optical profilometers are increasingly replacing contact profilers as they eliminate many drawbacks inherent in contact methods. These advanced systems provide superior resolution, faster measurements, lower variance, and seamless automation, making them a more efficient solution for surface texture measurement in both research and industry. Additionally, international standards like ISO 21920 and ISO 25178 recognize non-contact techniques as essential for reliable profile and areal surface texture analysis.

INSTRUMENT ACCURACY
How do I know if my instrument provides accurate results?
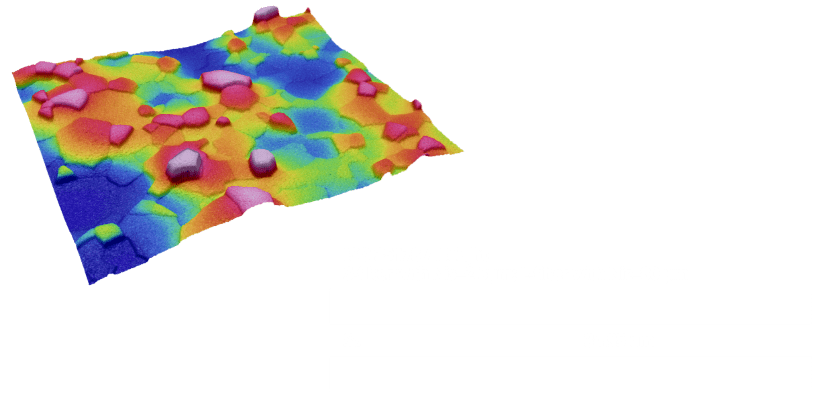
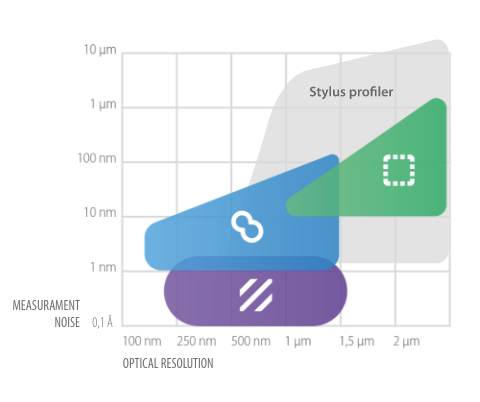
Accurate surface texture measurements depend on sufficient lateral and vertical resolution to capture fine surface features. The choice of technology, objectives, and other hardware specifications can impact measurement precision. Proper calibration is equally critical — without traceable calibration, results may lack reliability and accuracy.
3D TECHNIQUE SELECTION
Which is the best technique for measuring surface texture?
The best technique depends on the application: Interferometry is ideal for smooth, reflective surfaces; Confocal is excellent for polished or intricate textures; and Focus Variation is perfect for rough surfaces with steep geometries.
OBJECTIVE SELECTION
Which objectives should I use for my measurement?
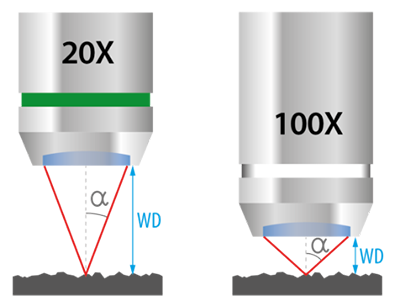
Objective lenses directly impact measurement accuracy. High magnifications capture fine details but limit the field of view, while lower magnifications provide broader coverage for rough textures. Balancing resolution and sample characteristics is key to accurate analysis.
Objective lenses directly impact measurement accuracy. High magnifications capture fine details but limit the field of view, while lower magnifications provide broader coverage for rough textures. Balancing resolution and sample characteristics is key to accurate analysis.


