APPLICATIONS
Characterizing cutting tools is very important to ensure a quality final product. It can also give information about the amount of material that will be removed when cutting. More specifically, the cutting edge of a tool is a key feature to characterize, in terms of useful lifespan and performance of the tool and the required speed and resulting precision of the cut.
Cutting edge assessment
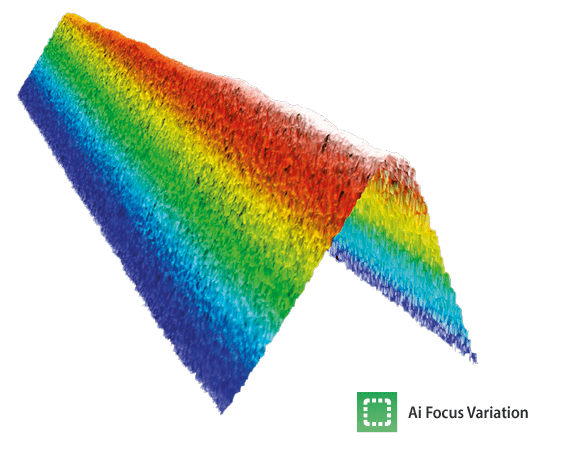
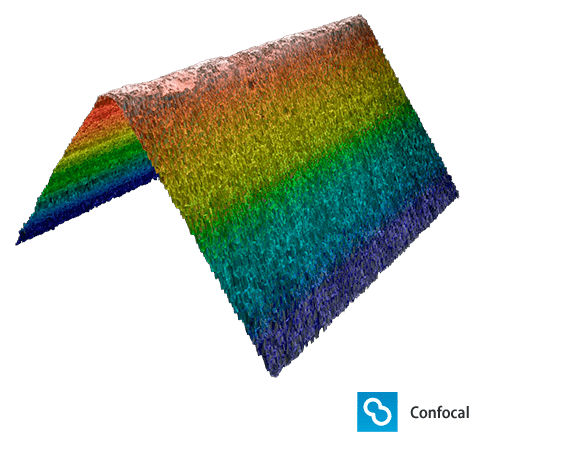
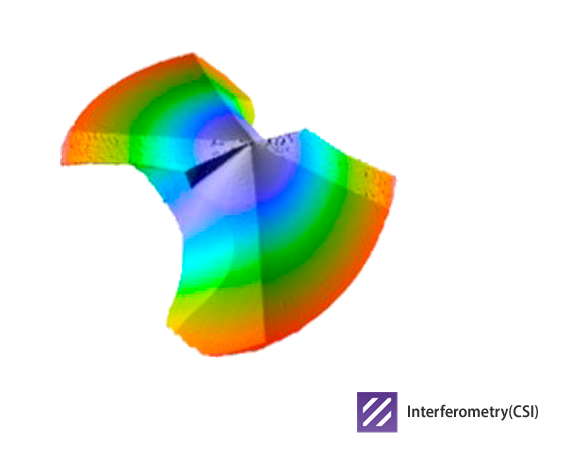
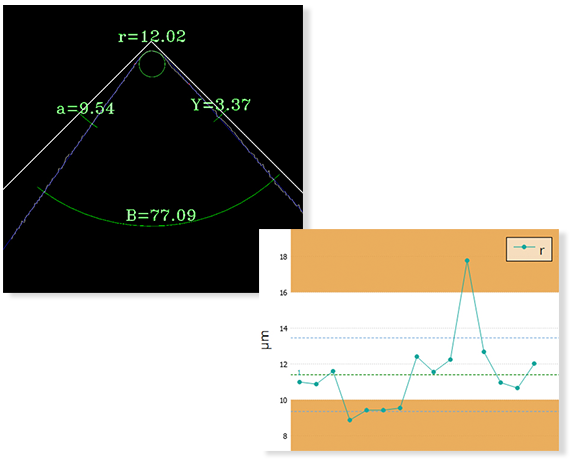
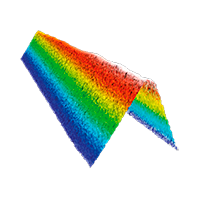
Radius uniformity and angles on the edge help to understand the behavior that the cutting tool will exhibit. All those parameters are automatically extracted by the Edge plugin in our SensoPRO software. There are many types of cutting tool and since we have 3 technologies in our sensorhead, we can choose the proper technology for each tool.
The Cutting edge plugin measures the edge radius and other important parameters plus the top surface profile roughness (height parameters).
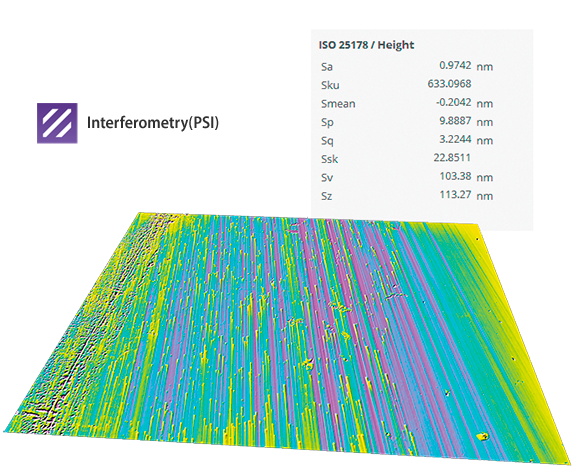
Diamond tool
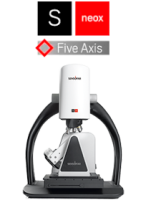
Measuring the roughness of the tool tell us if the cut piece needs a polishing treatment. For diamond tools, we find that the surface finish is extremely polished and only PSI technology has a fine enough resolution to measure it (down to 0.01nm). The S neox Five Axis system is also needed to place the sample perpendicular to the optical axis so PSI can perform.
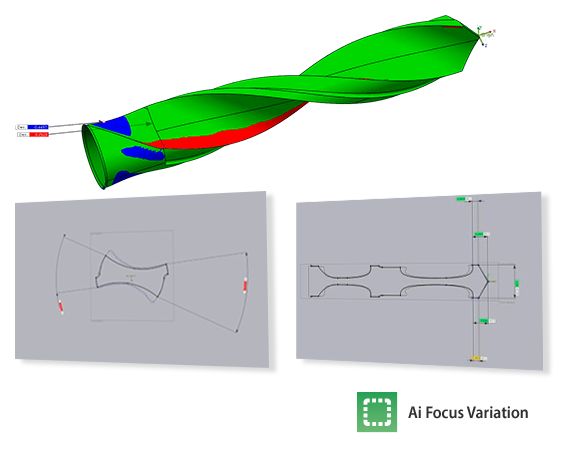
Full 3D characterization of a drill bit
To measure this sample, Focus Variation is needed due to the high slopes present in the sample. That said, traditional FV technology wouldn’t be able to image a surface this smooth. Our Active Illumination Focus Variation overcomes that limitation and easily images the full 3D shape. CAD deviation and key parameters can be extracted from the measurements using Geomagic Control X.


