Three-dimensional micromeasurements on smooth and rough surfaces with a new confocal optical profiler
Three-dimensional micromeasurements on smooth and rough surfaces with a new confocal optical profiler full article
Roger Artigas1, Agustí Pintó1, Ferran Laguarta1
1Universitat Politècnica de Catalunya (UPC) Rambla Sant Nebridi, 10, E-08222 Terrassa, Spain.
Proceedings Volume 3824, Optical Measurement Systems for Industrial Inspection; (1999)
Event: Industrial Lasers and Inspection (EUROPTO Series), 1999, Munich, Germany
Abstract
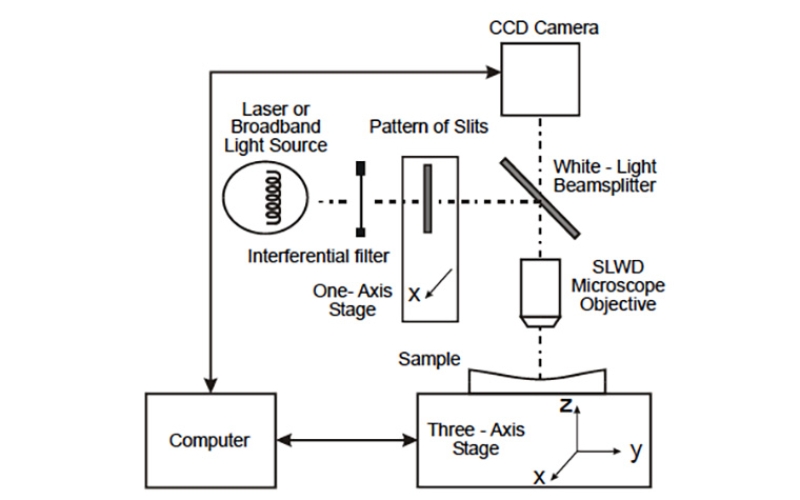
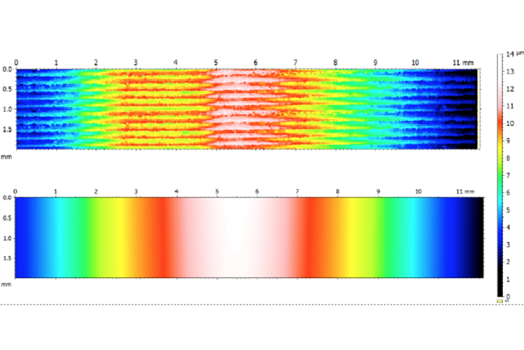
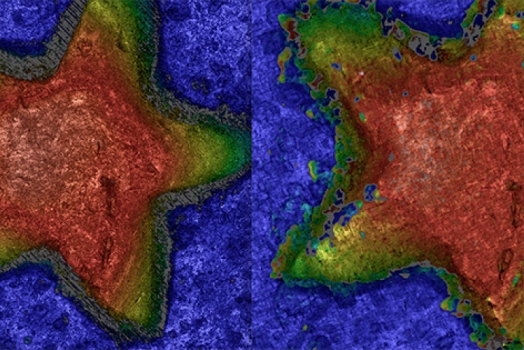
One of the objectives of surface metrology is to obtain a better and faster assessment of the micro- or nanogeometry of component surfaces. In this way the innovative concept of the profiler is changing towards non-contact modular computer- controlled systems for measuring and analyzing shape and texture of a surface. In this paper we present a new instrument which is based on the concept of confocal microscopy. In this instrument (which may be used for measurements on smooth and rough surfaces) a pattern of slits is imaged by a very high numerical aperture optical system on the surface of the sample to be measured. The reflected or diffused light is observed with a CCD array and analyzed with different digital image processing algorithms. In addition to the replacement of the existing stylus systems there are also important new potential applications for this type of instrument. We present the results obtained in micro- or nanomeasurements of high precision optical surfaces, texture assessment of non-homogeneous liquid depositions and metrology of microstructures such as master gratings and certified calibration standards. The obtained results show that the confocal profiler is robust enough to provide a surface topography with spatial resolution lower than 0.5 micrometer and uncertainty of about 10 nm.


