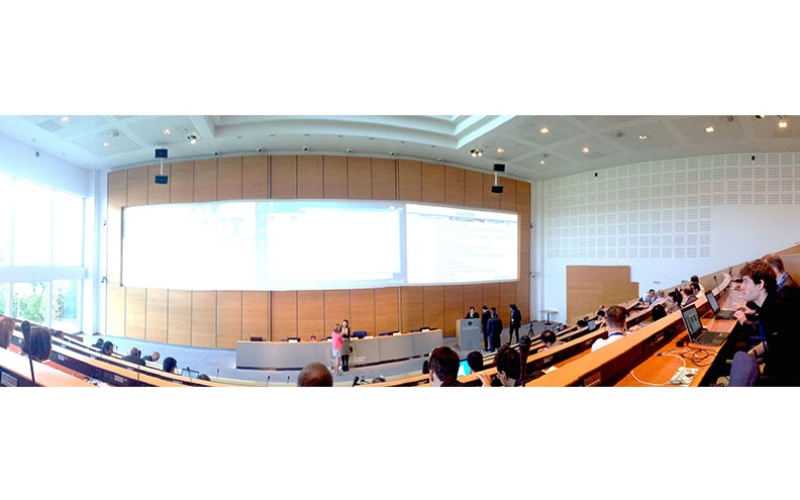
Industrial Workshop on Zero Defect Manufacturing
Tecnalia and IK4-IDEKO lead, along with Philips and NTNU (Norwegian University of Science and Technology), the European cluster 4ZDM (MIDEMMA, MUPROD, MEGaFiT and IFaCoM). The cluster integrates 58 institutions from eight countries, grouped into four European projects and working on the development of technologies to approach the paradigm of ‘zero manufacturing defects’.
Sensofar Metrology participated in the MIDEMMA project as an industrial partner. The main goal of the MIDEMMA project is to provide a global solution for the ‚zero defect‘ approach in micromanufacturing. The working methodology will be based on the development of extensive process monitoring devices and techniques for the generation of a data rich environment. Thanks to this data generation, adaptive process control methodologies and smart decision-making tools will be developed and applied in order to avoid defect generation during micromanufacturing processes.
Last week the leaders of the project organized an industrial workshop addressed to companies with industrial manufacturing processes with high added value to show different industrial pilot cases of the two projects as well as the technologies developed. Alberto Aguerri (Sales Manager) from Sensofar Metrology was chosen to present the Sensofar success story as a technology provider. Over the course of the next two days the closing meeting of the project took place, attended by Roger Artigas (Project Manager) together with all partners of the project.
Laser manufacturing and diamond-turning companies are presently concerned about how to solve the problem of integrating a high-accuracy/precision metrology system into their machines. Sensofar Metrology has designed a new compact and light 3D optical profiler –that integrates confocal and interferometry technologies – in order to solve the dimensional and performance requirements.
The Sensofar prototype was tested over six months at two beta testers: KALEIDO TECHNOLOGY (optical components with high surface accuracy) and IK4-IDEKO (a research center).
No sooner was this problem solved than another one was presented by another industrial partner of the project, CREATECH-MEDICAL (dental implants and prosthesis). The requirement is to measure the position of the dental bridge screws in less than 2 minutes and with 10 µm precision.
Sensofar proposed to develop their focus variation technology and integrate it into the S neox system. This technology allows the measurement of high slope surfaces with high measurement speed and over a large vertical range. At conclusion of the development, the entire dental bridge was measured in less than 2 minutes (10 s/screw).
Thanks to this successful case, Sensofar also plans to integrate this technology into its S neox line of 3D optical profilers.


