Characterizing process-induced form and surface texture change in additive manufacturing
David studied his bachelor’s degree at the Polytechnic University of Catalonia (UPC), where he started to work as a Research Assistant in the Department of Physics. Once he finished his master’s degree at the University of Barcelona (UB) he entered into the world of optical metrology joining Sensofar. As a Sales Specialist, he communicates Sensofar’s knowledge about optical metrology and trains our customers on how to extract the full potential of our systems. If you need him, he’ll probably be in our demo room measuring samples or performing live demonstrations.
With Sensofar 3D profilometers, we can characterize how a single parameter in the additive manufacturing process can change the shape of the sample produced. We can also quantitatively distinguish surfaces printed at different angles by identifying the characteristic roughness parameters.
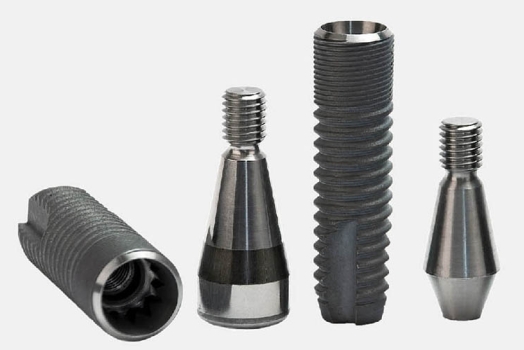
In the last decade, additive manufacturing has been adopted by the industry because of its advantages with respect to traditional subtractive and formative methods. The possibilities offered by additive manufacturing for creating complex geometries cannot be matched using traditional manufacturing methods. However, it has some disadvantages like the lack of standardization, the difficulty to control the dimensions and surface properties of the produced samples, and the need for a post-processing step in most cases. In this study, we wanted to measure the changes that a single parameter can produce on the final properties of a manufactured part by measuring form and surface texture.
STUDY 1. Form deviation as a function of process parameters
(material and other)
For this case study, we used Selective Laser Melting technique to produce the same test specimen twice but with two different materials. By doing this, we wanted to see the influence that this change would have on the overall form of the manufactured part. We chose Titanium alloy Ti6Al4V and Aluminum alloy AlSi10Mg to be our test materials because of their wide use in the aerospace and medical industry [1].
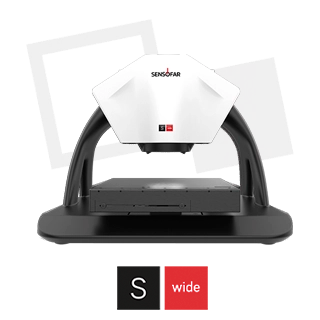
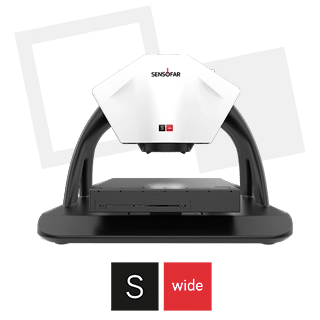
With the S wide we measured these two samples and also a reference sample and compared them with a 3D comparison software.
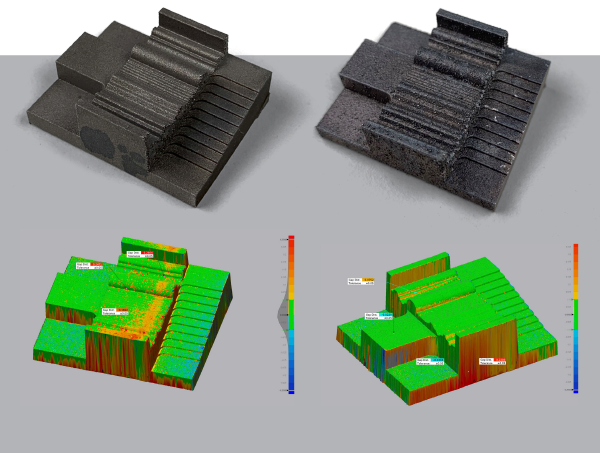
The 3D comparison shows the differences of the SLM manufactured parts with respect to the reference. We could see that larger deviations can be found at the edges of the samples geometries, but the overall shape is maintained using both materials. However, the sample that is made of aluminum alloy shows some high deviations at some spots of the surface, which is due to the balling effect [2].
We also ran similar tests but at that time using two samples manufactured with the same material and changing one of the internal parameters of the SLM machine (beam compensation). This time, since the expected deviations were smaller, we used a CAD file as the reference for 3D comparison instead of a reference sample.
In fact, this would be the most proper way of controlling production: setting some tolerances over the different regions in the CAD model and then analyze the produced part in accordance to that.
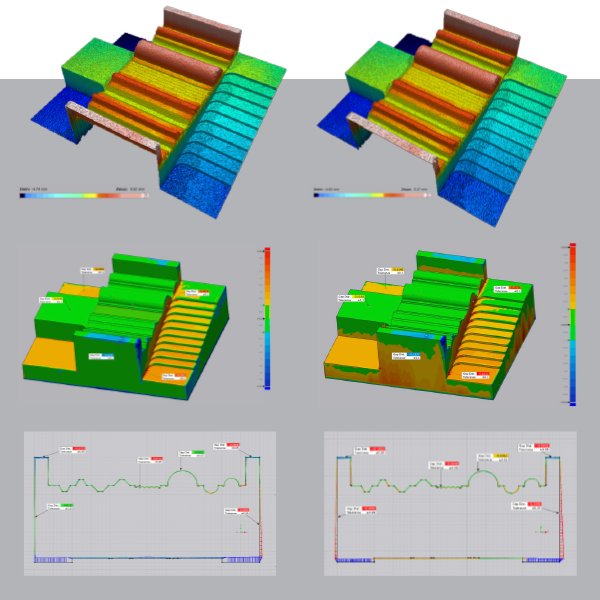
In Figure 2, we can see the difference between one sample and the other, highlighting some of the critical points. We can also select a cross-section and analyze how the profile gets modified in each sample. The next step would be to go back to the manufacturing process and adjust the parameters so that the output is always what we expect.
STUDY 2. Surface texture changes as a function of printing angle
Surface texture of manufactured parts can be crucial to their functional performance. Therefore, understanding how the different variables in the additive manufacturing process can affect the different surface texture parameters is a hot research topic.
For this second case study, we manufactured different units of another test specimen (a square of 1 cm x 1 cm, 2-mm thick) but changing the printing angle. This is a common test among manufacturers and researchers that use additive manufacturing to understand the performance of their machine in these situations.
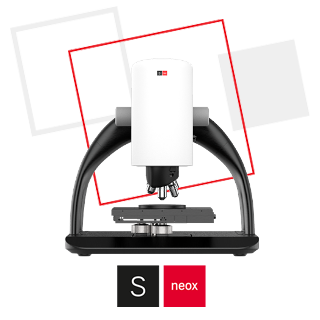
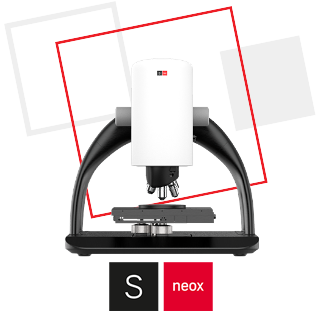
We measured surface texture on several locations of the different samples using our S neox 3D optical profilometer and positioning the samples perpendicular with respect to the optical axis. The measurements were then filtered according to ISO 25178 using the same nesting indexes to ensure meaningful comparison and finally compared using SensoPRO software to determine which parameters differentiate each group of measurements.
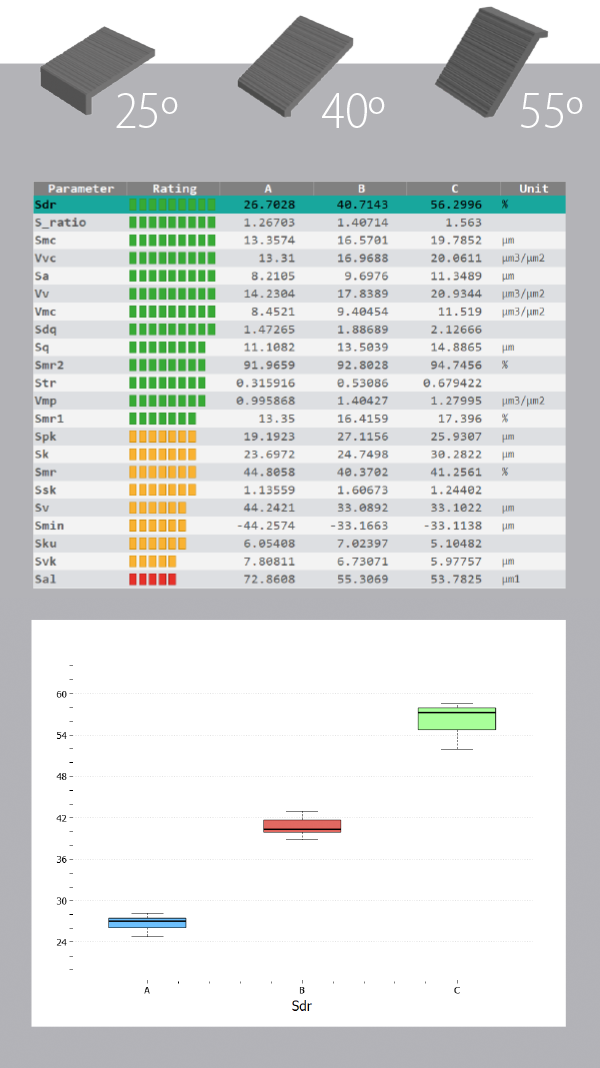
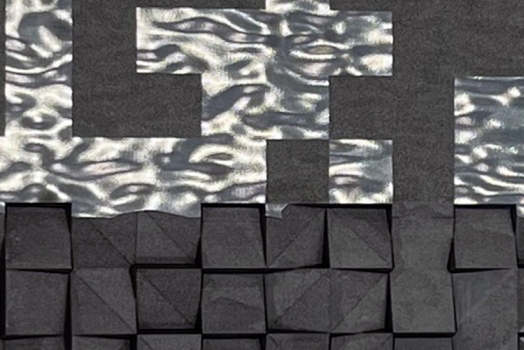
The results showed that surface texture suffers a great change when the printing angle varies. More specifically, we concluded that one of the parameters that changed the most was Sdr (developed area ratio), in agreement with [3]. Sdr parameter is important in applications related to addition and coatings, so the printing angle will be critical for additive manufactured surfaces whose functional performance is related to adhesion and coatings (like hydrophobic surfaces for example).
On our first study, we were able to characterize how one single parameter from the additive manufacturing process can change the form of the produced sample. On the second one, we were also able to distinguish quantitatively samples printed at different angles through the identification of the characteristic surface texture parameters.
The S wide system, with Fringe Projection technology, was used for form measurements while the S neox was used for surface roughness measurement. In the case of the S neox, Ai Focus Variation technology was chosen to be the proper technique for the measurement of micron-level roughness because of its speed and HDR mode. However, Confocal and Interferometry technologies (also included in the same system) are being used to characterize a wide range of additive manufacturing parts, from as-built surfaces to smooth post-processed surfaces. The versatility of the S neox has been proven to be very useful thanks to the integration of different optical metrology technologies in the same system.
[1] A. Townsend, N. Senin, L. Blunt, R.K. Leach, J.S. Taylor, “Surface texture metrology for metal additive manufacturing: a review”, Precision Engineering, Volume 46, 2016, Pages 34-47
[2] Bourel, D.I., Marcus, H.L., Barlow, J.W. and Beaman, J.J.(1992), “Selective laser sintering of metal andceramics”, Int. J. Powder Met., Vol. 28 No. 4,pp. 369-81
[3] Grimm T, Wior G, Witt G. “Characterization of typical surface effects inadditive manufacturing with confocal microscopy”. Surf Topogr: Metrol Prop2015;3:014001


