Surface characterization of tribological coatings: wear properties, thickness and roughness
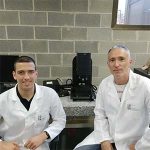
The Institute for Research in Advanced Materials and Mathematics (INAMAT2) from Public University of Navarre (UPNA) is a multidisciplinary research institute that brings together researchers from different scientific areas (Mathematics, Physics, Chemistry and Materials Science).
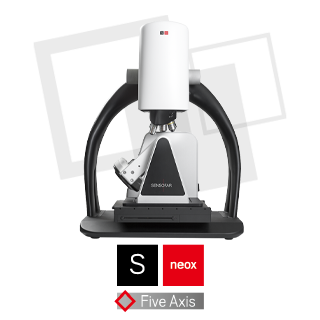
With the S mart 3D profilometer, it is possible to more precisely measure the volume loss of the wear tracks after the friction and wear tests since it measures the real shape of the wear track.
Our research focuses on improving tribomechanical properties of Diamond-Like Carbon (DLC) coatings deposited by the novel PVD technique High Power impulse magnetron sputtering (HiPIMS) with positive pulses on tool steels. These coatings are of great interest to the industry because of their extraordinary properties: excellent wear resistance, very low friction coefficient, great hardness, or biocompatibility. These studies aimed to improve the tribomechanical properties, such as adhesive or wear resistance, of the DLC coatings on different steel substrates.
With Sensofar’s 3D optical profiler, we expected to characterize the surfaces with greater measurement accuracy in the higher-quality 2D and 3D images.
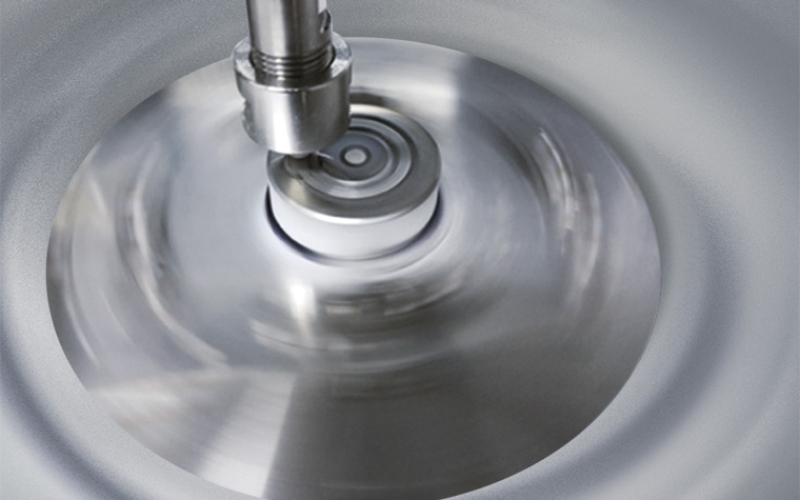
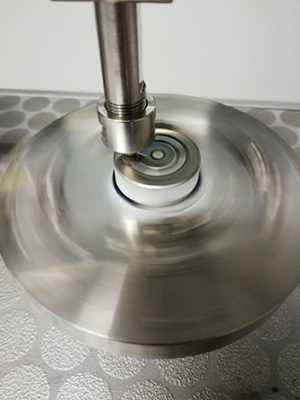
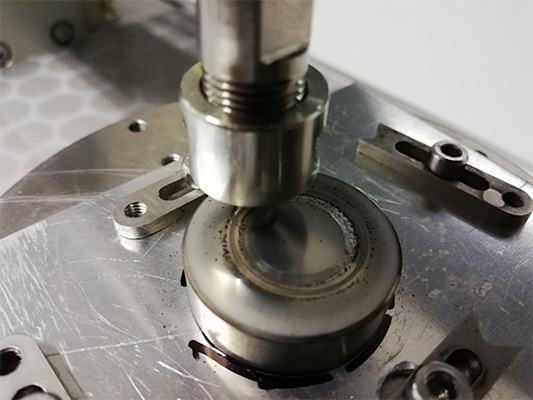
Coated and uncoated round and plane samples have been measured. Different steels and ceramics have been used as a substrate. After, high-quality coatings, such as DLC, are deposited on them. In these samples, we carry out friction and wear tests with a pin-on-disc tribometer, and after that, we measure the wear tracks.
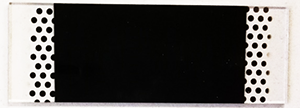
There are many critical parameters in studying the tribomechanical properties of a surface or a coating: nano-hardness, adhesion between the coating and the substrate, roughness, and/or thickness of the layers or wear properties. With the S mart profilometer, we can measure the superficial roughness, the thickness of the coatings, and the volume loss after the friction and wear tests, which is necessary to calculate the wear coefficient then.
In industrial applications wear resistance is a very important property since it can determine the correct performance and provide a longer life of the materials. Determining this value is not easy since many factors are at play: there are changes in the wear mechanisms, and both the pin and the disc suffer wear.
The characterization of the wear is not simple, but with Sensofar’s profilometer, we are able to achieve the most realistic representation of the wear suffered during the friction in wear tests and to measure volume loss better.
VOLUME MEASUREMENT
We used 6 mm diameter alumina balls for the friction and wear tests, with a surface maximum roughness of Ramax 0.050 µm and a hardness of around 1650 HV. Different samples of coated and uncoated tool steels were used as the disks. In the tests, the disks rotate against the pin under the following conditions: 40 N load, 200 rpm, and 20,000 cycles, and the tests were repeated three times at 8, 10, and 12 mm (track radii) for each sample. As a result of this test, a wear track appears from which the volume loss is measured to determine the wear coefficient.
The volume loss, measured to calculate the wear resistance later, was measured using Confocal technology. The objectives were chosen depending on the width of the wear tracks, using the 5X and 10X lenses for the uncoated samples, where the widest wear tracks were observed, and the 20X and 50X lenses for the coated samples that presented the narrower tracks.
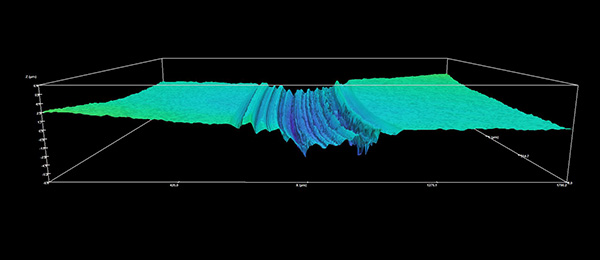

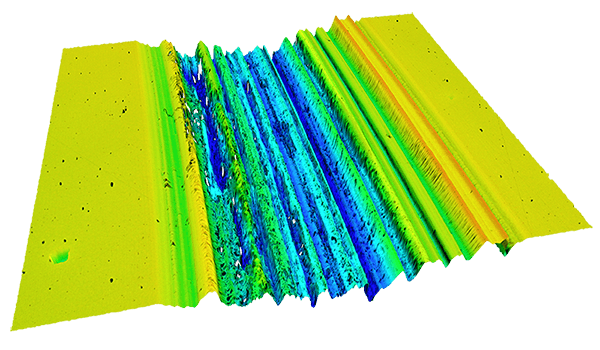
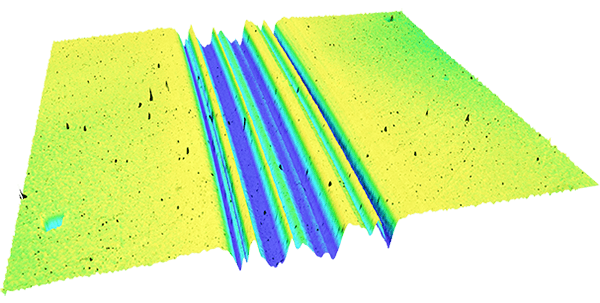
The wear coefficient was determined in two ways to achieve the most accurate value; following the standard ASTM G99 and straight from the Confocal measures of volume loss. When Confocal profiler measurements are used directly, the measured volume loss value is extrapolated to the entire wear track, and with that volume loss value, the wear coefficient is calculated.
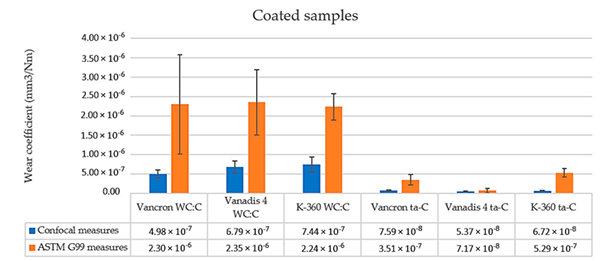
The main goal, to characterize the wear resistance of the coatings in the most accurate way, was achieved with the S mart 3D profilometer. Due to the profilometer’s ability to measure the volume loss after the friction and wear tests taking into account the real shape of the wear track, the wear coefficient values obtained by Confocal are lower and more realistic than those calculated following the standard ASTM G99.
THICKNESS AND ROUGHNESS MEASUREMENT
Moreover, it was possible to measure the superficial and profile roughness of the samples easily, then to contrast the values obtained by using two different technologies for measuring, Confocal and Interferometry. In this way, it was possible to ensure the precision of the roughness values obtained. The substrate’s roughness can be a determining factor in the adhesion between the coating and the substrate.
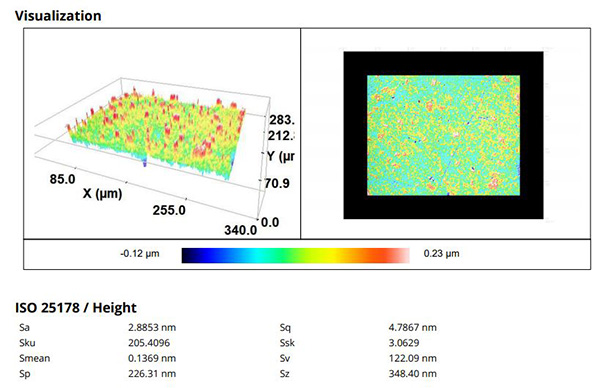
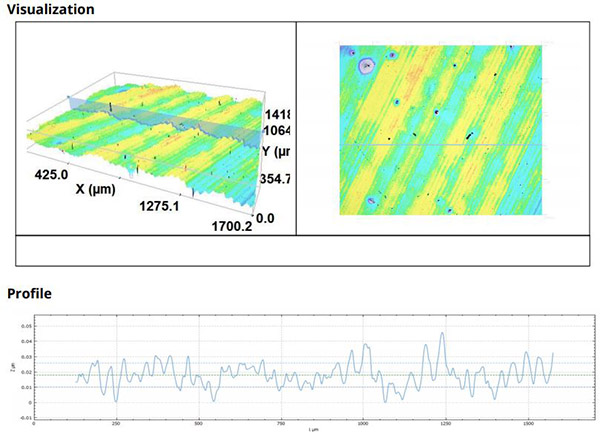
Finally, the thickness of the coatings was measured in a fast and simple way. As well as for roughness, the thickness was measured both with Confocal and Interferometry in order to corroborate results. The main advantage of this measurement is that it was possible to measure the thickness without the need for destructive testing.
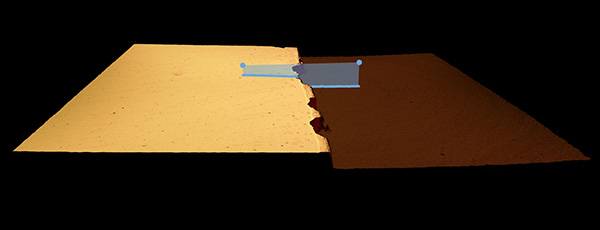

For the roughness and thickness measurements both Confocal (50X) and Interferometry (10X) were used. This way we tried to achieve the highest resolution in depth to obtain the most accurate values.
Many parameters are important to study the tribomechanical properties of a surface or a coating, such as nano-hardness, adhesion between the coating and the substrate, roughness, thickness of the layers, or wear properties. Sensofar’s optical profiler can assess all these properties and be more accurate than other characterization methods. Finally, it should be noted that the versatility, speed, and ease of use of the S mart profilometer allow us to use different techniques for corroborating the values obtained.
References
- Claver A, Jiménez-Piqué E, Palacio JF, Almandoz E, Fernández de Ara J, Fernández I, Santiago JA, Barba E, García JA. Comparative Study of Tribomechanical Properties of HiPIMS with Positive Pulses DLC Coatings on Different Tools Steels. Coatings. 2021; 11(1):28.
- García JA, Rivero PJ, Barba E, Fernández I, Santiago JA, Palacio JF, Fuente GG, Rodríguez RJ. A Comparative Study in the Tribological Behavior of DLC Coatings Deposited by HiPIMS Technology with Positive Pulses. Metals. 2020; 10(2):174.


