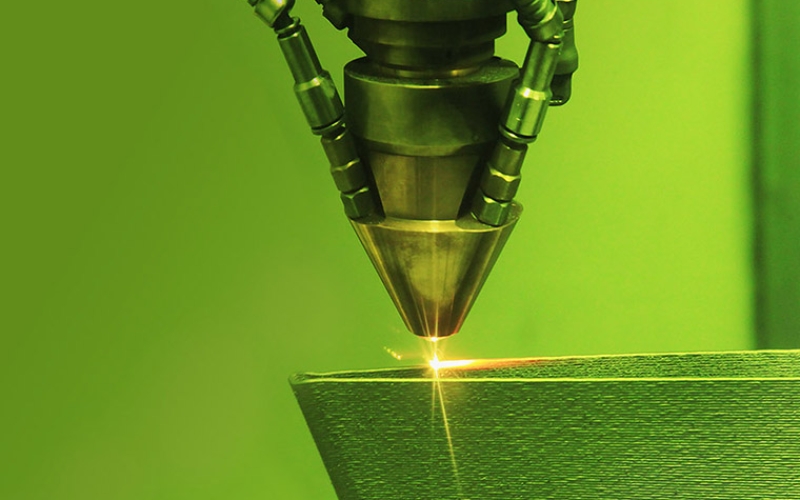
Geometric measurement of the ceramic layers made by the robocasting technique
The Worcester Polytechnic Institute was founded on 1865 and is focused on the instruction and research of applied sciences and engineering.
With the help of 3D optical profilometer S neox in the confocal mode, we successfully measured printed ceramic parts without sintering them
Robocasting is a first-generation extrusion additive manufacturing method for ceramic-based materials that builds finished parts in successive layers. It has the advantages of being easy to process and economic and works with a wide range of materials. Robocasting is promising on produce piezoelectric sensors, ceramic lattice filters or ceramic lattice structures such as custom bone implants.
Conventional methods, such as SEM, can be applied to measure some geometric information on sintered parts, however, as-printed ceramic layers are difficult to measure by conventional methods.
In this study, a non-contact 3D surface metrology confocal microscopy (S neox, Sensofar, Barcelona) is used for measurement of ceramic layers to measure heights, and volumes of single layer ceramic paths, and heights of two-layer printed ceramic parts.
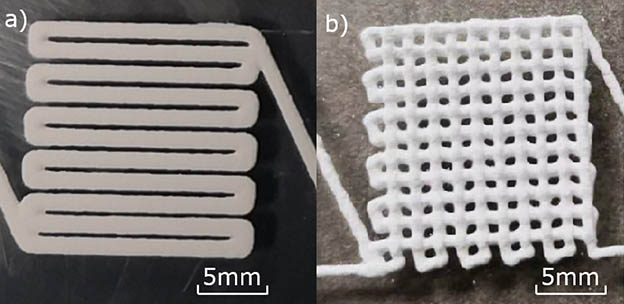
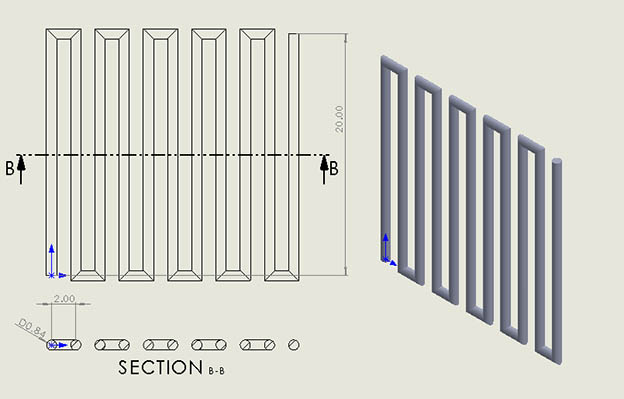
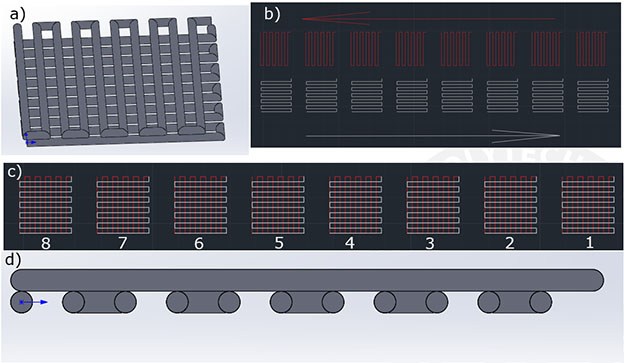
The continuous confocal mode with a magnification of 5X was used to study the single-layer path. Analogously, the continuous confocal mode with a magnification of 5X and an extended measurement of 9 fields of view was used to study two-layer parts.
As shown in Figures 4 to 7, eleven cross-sections with height, width and areas were collected for each pattern. Averages were computed and analyzed. The volume of each single-layer path is also calculated by the average length and the cross-section area.
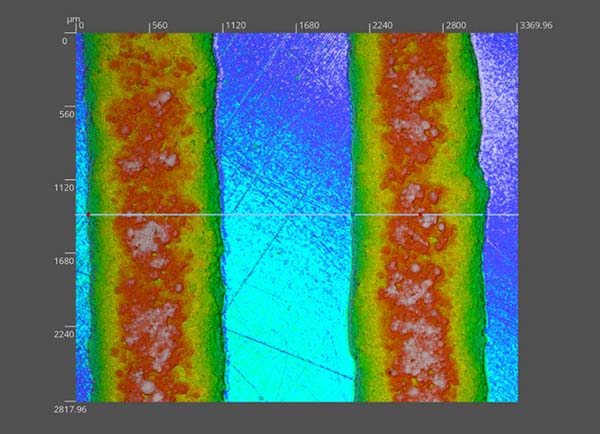

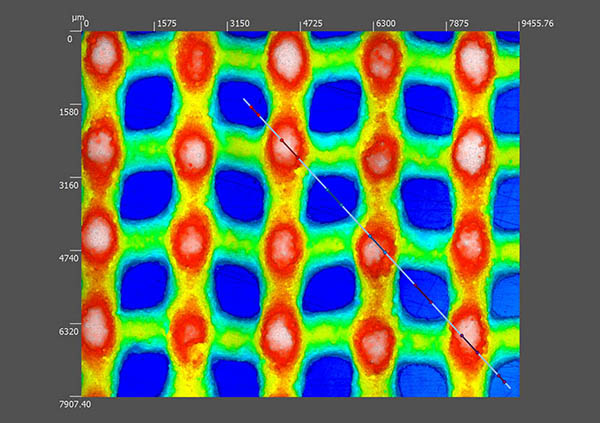

With the help of 3D optical profilometer Sensofar S neox in the confocal mode, we successfully measured geometric parameters of as-printed ceramic parts without sintering them. By avoiding impacts from sintering process, these dimensions can be used as database to predict and improve the accuracy of robocasting processes.


