Optimisation of Imaging Confocal Microscopy for Topography Measurements of Metal Additive Surfaces
Optimisation of Imaging Confocal Microscopy for Topography Measurements of Metal Additive Surfaces
Lewis Newton, Aditi Thanki, Carlos Bermudez, Roger Artigas, Adam Thompson, Han Haitjema and Richard Leach
Abstract
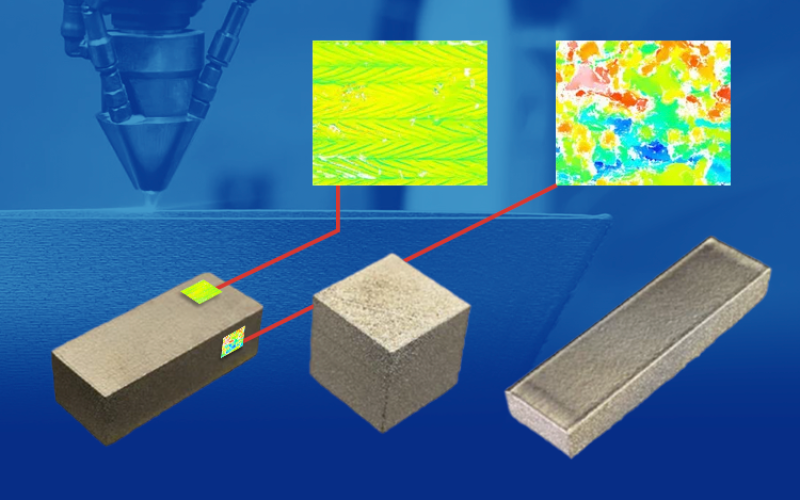
Additive manufactured surfaces, especially metal powder bed fusion surfaces, present unique challenges for measurement because of their complex topographies. To address these measurement challenges, optimisation of the measurement process is required. Using a statistical approach, sensitivity analyses were performed on measurement settings found on a commercial programmable array scanning confocal microscope. The instrument measurement process parameters were compared by their effects on three quality indicators: the areal surface texture parameter Sa, measurement noise, and number of non-measured points. An analysis was performed using a full factorial design of experiments for both the top and side surfaces of test surfaces made from Inconel 718 and Ti-6Al-4V using powder bed fusion. The results indicated that measurements of metal additive surfaces are robust to changes in the measurement control parameters for Sa, with variations within 5% of the mean parameter value for the same objective, surface, and measured area. The number of non-measured points and the measurement noise were more varied and were affected by the choice of measurement control parameters, but such changes could be predicted by the statistical models. The contribution offered by this work is an increased understanding of imaging confocal microscopy measurement of metal additive surfaces, along with the establishment of good practice guidance for measurements.


